Raspberry Pi Based Wireless FM Microphone: A DIY Maker Project
Via hackster.io
If you still remember, TechDesign introduced a wireless microphone solution from our partner at Nuvoton Technology back in January. The design relies on the high-performance microcontroller from Nuvoton to enable high quality sound transferring wirelessly. Some of you might wonder if this is doable as a maker project, and to answer your question, TechDesign actually comes across one such example on hackster.io. It is a project shared by one fellow maker, and surprisingly, he achieves it with components that are readily available. With no further ado, TechDesign will proceed with introducing you the Raspberry Pi based wireless FM microphone.
What do you need?
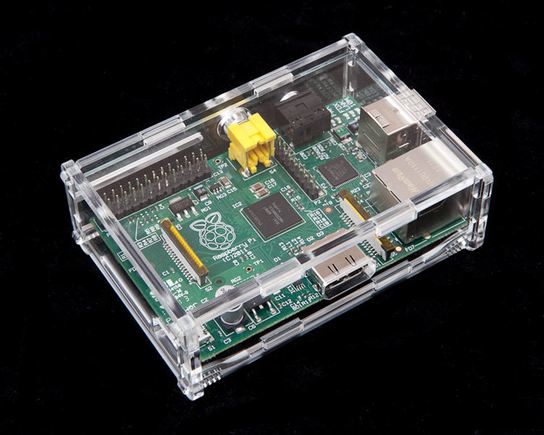
Different from the wireless microhpne from Nuvoton, this project relies primarily on Raspberry Pi. Among all the frequencies used by wireless microphones, the maker, Khairul Alam, chooses to use the FM frequency. The convenient part about this microphone is that once the Raspberry Pi is set up, you can easily amplify your sound through a radio or boombox. However, in order to help others easily experiment with the project, he shares a step-by-step instruction with fellow makers.
- Components needed: Raspberry Pi, USB microphone, FM receiver, speaker with amplifier, 9 volt battery, 5 volt regulator, Raspberry Pi case, SD card with raspbian, FM antenna
- Tools needed: Monitor, Wifi dongle, micro USB cable, glue and felt, wires, wire cutter, screw driver, soldering iron
In this setup, the Raspberry Pi functions like an FM transmitter and Alam relies on a program designed by the Imperial College Robotics Society to turn his Rapsberry Pi into an FM transmitter. If you are interested in learning about the step-by-step instruction of turning your Raspberry Pi into an FM transmitter, you can refer to the project profile on hackster.io. Once the Raspberry Pi is turned into a FM transmitter, makers can then plug the USB microphone into its 3.5mm analogue stereo audio output. One thing to keep in mind is that the Raspberry Pi needs to be turned off when the USB device is plugged into the analogue. After that, you can turn on the Raspberry Pi and the USB microphone will then be installed. After confirming that the USB microphone is detectable by both the hardware and software, users can then move on to adjust the volume. Alam suggests users to keep the volume level in between 80% to 90% in order to avoid sound distortion.
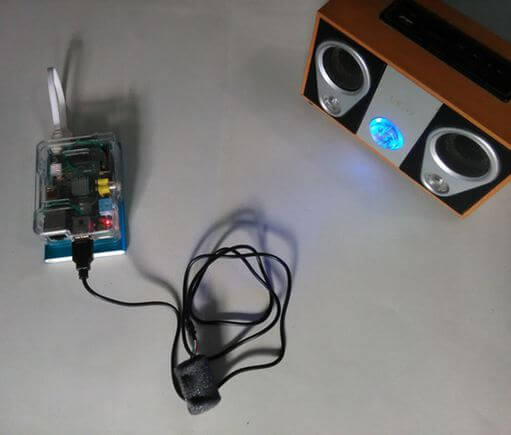
Once the system and microphone is setup, users will need to follow several steps of instruction to start transmitting sound and implement autostart. For detailed steps, please follow the project profile. In case you wonder how does the completed microphone set look like, below is a picture of the whole set of wireless microphone:

TechDesign hopes that you find this project informative and easy to experiment with. In case you don’t want to spend your time on building your own wireless microphone, you can always check out the wireless microphone from Nuvoton Technology. We will continue to bring you more makers projects in the coming weeks, so stay tuned. If you have any questions or suggestions, please don’t hesitate to leave them in the comments.


