Raspberry Pi Light Bulb Controller: Program Your Own Light Switch

Via hackster.io
If you still remember, we talked about the secrets behind Raspberry Pi’s tremendous success on our blog last week, and we also explained why it is so popular among individual makers. TechDesign stumbles upon a perfect example that can show you how much makers can achieve through Raspberry Pi. We have been regularly featuring different maker projects on our blog as a way to not only shine some lights on projects with great potential but also bring all of you back to the very basics of electronic design and development. In today’s case, we find it the easiest way to demonstrate what we just talked about in our posts. So now with no further ado, let us bring you the Raspberry Pi light bulb controller made by one fellow maker.
How to make your own smart light switch
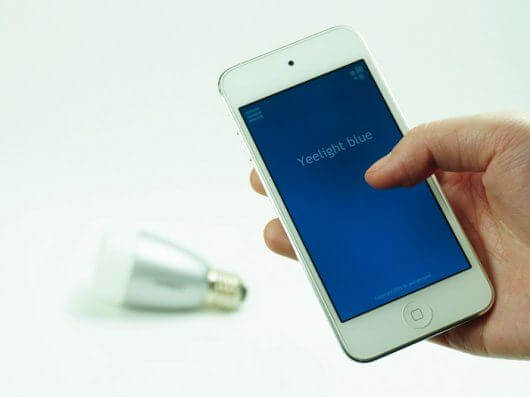
This project is built by Ramin Sangesari, and he is trying to demonstrate how to control a smart light bulb with Raspberry Pi. In this case, the smart light bulb is a Yeelight Blue that can change its color through Bluetooth Low Energy. And why Raspberry Pi? He thinks that since the light bulb is using BLE, so he should be able to control it with any BLE device. He accomplishes the task through the combination of Raspberry Pi and Bluetooth 4.0 USB module.

The main part of this whole setup is a Yeelight Blue light bulb, which enables users to create and control lighting with a smartphone through Bluetooth 4.0. What sets it apart from traditional light bulbs is that it consumes less than 90% of the power than traditional light bulbs. By coupling with Raspberry Pi and Bluetooth 4.0 USB module, it becomes a self-made smart light switch.
In order to get you familiar with the setup process, we decide to walk you through the steps below. First and foremost, users will have to install a required Librarie, then download, unzip and compile another program called Bluez. Once the software setup is completed, users need to shut down their computers and insert the Bluetooth 4.0 USB module to the computer. Then, it is time to reset the Raspberry Pi and allow all the changes to come into effect. Since the GATT tool within Bluez does not automatically install by itself, users need to manually complete this step. Upon completion of this step, users need to run two separate commands, “hciconfig” and “sudo hciconfig hci0 up”, to turn on the USB adapter.

To ensure that the device is up and running, users need to run a command to scan for the BLE device. For the rest part, you just have to download the Yeelight Blue library, replace the current address in Raspberry Pi with the Yeelight Blue’s address, and run the Python script to complete the whole setup. Once these steps are done, you can start controlling the Yeelight Blue light bulb through Raspberry Pi.
If you are interested in learning about the detail of the project, you must refer to the project’s complete profile on hackster.io. However, if you think setting up such smart light switch is not your cup of tea, then you can check out the smart plug from Nuvoton Technology or the Wi-Fi smart socket from Shenzhen UMind Technology Corp. TechDesign will continue to bring you other interesting maker projects in the coming weeks, so stay tuned.


