Learn How to Make a Shiny Clock with Arduino

Via hackster.io
If you are a maker, then you probably don’t need a lecture on what you can achieve with Arduino, as you may have probably built many different projects with the popular development board. However, with its high adaptability, there must be ways to use Arduino that you have not thought about before. We stumbled upon this cool digital clock project shared by a fellow maker, and we think you can be inspired by this project if you haven’t used Arduino to build a clock before.
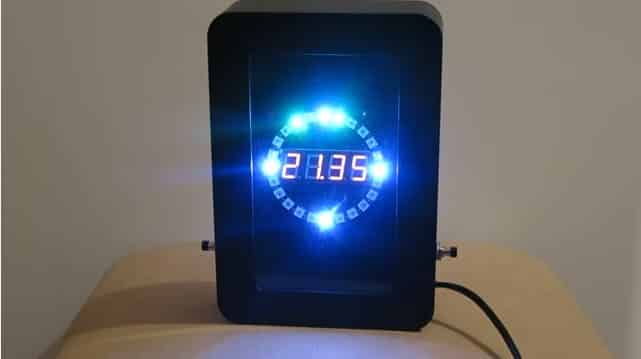
A shiny Arduino clock
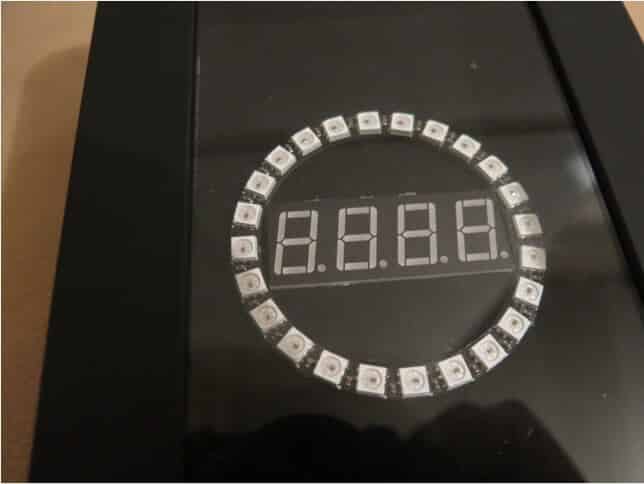
The digital clock is powered by Arduino nano and a neopixel ring. The maker praises Arduino’s excellent adaptability by confessing that the development board makes it easy for him to store all his rather unorganized codes. The clock is also his first project of combining Arduino with neopixel ring. In order to enhance the clock aesthetically, the maker embeds a 0.56″4 segment indicator to the clock, so it can now put on a dazzling mini light show with the 24 LEDs that come with the indicator.

The clock does not follow a specific pattern to change its color as there are 6 different algorithms that govern the neopixel ring. Additionally, although the maker uses ds1307 clock for this project, which often displays inaccurate time, he still manages to correct it by letting the clock adjust its time on a daily basis. You may be wondering, how does he do that? He builds a feature that allows the clock to save specific time in its memory whenever the user manually adjusts it. This way, he can avoid the random display of inaccurate time.
You must be quite curious about how the clock functions in reality, so below is the demo video shared by the maker:
(Via ART on Youtube)
And if you want to learn more about this project, check out its complete profile on hackster.io. And of course, don’t forget to stay tuned as we will bring you more maker projects in the coming weeks.


